Applying herbicides can feel like a science experiment, especially when you’re trying to get the timing and method just right. One common question among gardeners and lawn enthusiasts is whether Dithiopyr, a pre-emergent herbicide, needs to be watered in after application. Understanding how to use this product effectively can mean the difference between a flourishing lawn and a weed-infested yard. Let’s dive deep into the specifics of Dithiopyr, its application process, and the importance of watering it in.
Understanding Dithiopyr
Dithiopyr is a selective pre-emergent herbicide primarily used for controlling grassy and broadleaf weeds in various types of turf. It acts by inhibiting root and shoot development in germinating seeds, making it particularly effective in preventing weeds before they even emerge. This makes it a popular choice for maintaining the health of lawns, golf courses, and other landscaped areas.
How Dithiopyr Works
To appreciate the need for watering in Dithiopyr, it’s crucial to understand its mode of action:
- Pre-emergent Action: Dithiopyr targets weed seeds before they germinate. When applied correctly, it creates a barrier that disrupts the development of germinating seeds.
- Soil Activation: For Dithiopyr to be effective, it needs to be activated by moisture. This is where the question of watering in comes into play.
Does Dithiopyr Need To Be Watered In?
The simple answer is yes—Dithiopyr does need to be watered in to achieve optimal results. Watering helps activate the herbicide, allowing it to bind to the soil particles and form a protective barrier against weed germination.
Why Watering In Is Essential
Here are some key reasons why watering in Dithiopyr is crucial:
- Activation: Moisture is essential for activating Dithiopyr. Without adequate watering, the herbicide might not penetrate the soil properly, reducing its effectiveness.
- Longevity: Watering helps ensure that Dithiopyr remains effective for a more extended period, providing better weed control throughout the growing season.
- Even Distribution: Watering can help distribute the herbicide evenly across your lawn, reducing the chances of bare spots where weeds can thrive.
How to Apply Dithiopyr Correctly
Applying Dithiopyr properly is essential for achieving the desired results. Here’s a step-by-step guide:
- Select the Right Time: Apply Dithiopyr in early spring before weed seeds begin to germinate. The ideal soil temperature for application is typically between 50°F and 70°F.
- Prepare Your Lawn: Mow your lawn to a height of around 2 to 3 inches. This helps ensure that the herbicide reaches the soil effectively.
- Measure the Area: Calculate the square footage of the area you intend to treat. This will help you determine how much Dithiopyr to apply.
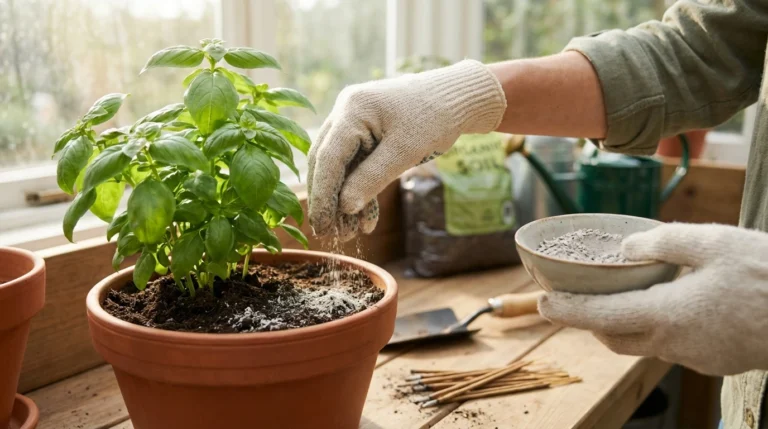
- Apply Dithiopyr Evenly: Use a broadcast spreader for an even application. Follow the manufacturer’s instructions regarding the amount to apply per square foot.
- Water In: Water the area thoroughly after application. Aim for about 0.5 inches of water to activate the herbicide without causing runoff.
Timing Your Watering
Timing is crucial when it comes to watering in Dithiopyr. Here’s what you should consider:
- Immediate Watering: Watering immediately after application is recommended to activate the herbicide effectively.
- Avoid Heavy Rain: If heavy rain is forecasted soon after application, you may want to wait until the rain passes to avoid washing away the product.
Common Mistakes to Avoid
Even seasoned gardeners can make mistakes when applying Dithiopyr. Here are some pitfalls to avoid:
- Skipping the Watering: Failing to water in Dithiopyr can lead to poor weed control.
- Incorrect Timing: Applying Dithiopyr too late in the spring can reduce its effectiveness, as weeds may already be germinating.
- Overwatering: While watering is important, excessive water can dilute the herbicide or cause runoff, reducing its efficacy.
Ideas for Lawn Care
Creating a beautiful, weed-free lawn is possible with a few actionable ideas:
- Colorful Borders: Use colorful flower beds as natural barriers against weeds.
- Mulching: Apply mulch around plants to suppress weeds and retain soil moisture.
- Grass Types: Experiment with different grass types that are more resistant to weeds.
- Seasonal Maintenance: Incorporate seasonal lawn care routines to keep your lawn healthy year-round.
Expert Tips for Effective Use
Maximize the effectiveness of Dithiopyr with these insider tips:
- Soil Testing: Conduct a soil test to understand your lawn’s nutrient needs and pH levels, which can affect herbicide performance.
- Combine with Fertilizers: Consider using a combination of pre-emergent herbicide and fertilizer for a two-in-one treatment.
- Monitor Weather Conditions: Keep an eye on local weather forecasts to choose the best day for application.
Common Questions About Dithiopyr
1. How long does Dithiopyr last in the soil?
Dithiopyr typically lasts about 6 to 8 weeks, but its effectiveness can vary based on soil conditions and moisture levels.
2. Can I seed my lawn after applying Dithiopyr?
It’s best to wait at least 4 months after applying Dithiopyr before seeding, as it may inhibit new grass seed germination.
3. Is Dithiopyr safe for pets and children?
After the area has dried completely following watering, Dithiopyr is generally safe for pets and children. Always follow label instructions for safety guidelines.
4. What happens if it rains shortly after application?
If it rains heavily within 24 hours, some of the herbicide may wash away, which could reduce its effectiveness. If possible, reapply after the rain stops.
5. Can I mix Dithiopyr with other herbicides?
Mixing herbicides can be effective, but it’s essential to check compatibility and follow the manufacturer’s instructions to avoid damaging your lawn.
Conclusion
Understanding the importance of watering in Dithiopyr is crucial for achieving a healthy, weed-free lawn. This pre-emergent herbicide can be a powerful tool in your lawn care arsenal when applied correctly. By following the right steps and avoiding common mistakes, you can create a lush, thriving landscape that will be the envy of your neighborhood. Happy gardening!