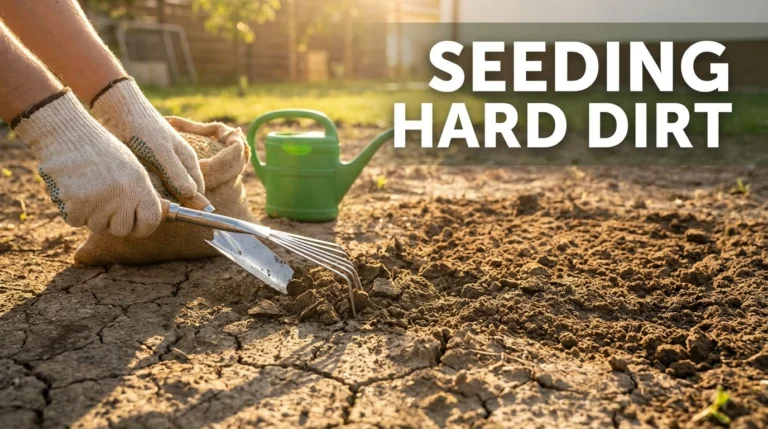
Are you tired of looking at that hard, dry patch of dirt in your yard? Transforming it into a lush green lawn might seem like a daunting task, but with the right approach, you can achieve a beautiful, healthy grass area. Planting grass seed on hard dirt requires more than just scattering seeds and hoping for the best. It involves preparing the soil properly to ensure that the seeds can take root and thrive. Let’s explore the step-by-step process to make your lawn dreams a reality.
Quick Answer
To plant grass seed on hard dirt, start by preparing the soil through aeration and tilling. Then, apply a seed starter fertilizer, spread the grass seed evenly, and water the area thoroughly. Finally, cover the seeds lightly with soil and maintain consistent moisture until the grass establishes.
Step 1: Assess Your Soil Condition
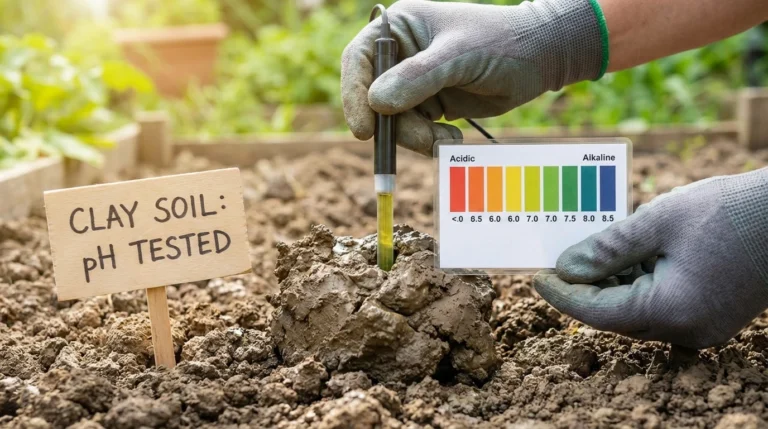
Before diving into planting, take a moment to assess the condition of your dirt. Is it compacted and hard, or is it just dry? Understanding your soil type will guide your preparation process. Conduct a simple test by grabbing a handful of dirt and squeezing it. If it crumbles easily, you may need to improve its structure.
Tips for Assessment:
- Check for drainage: Pour water on the surface to see if it pools or sinks in.
- Look for weeds: Presence of certain weeds may indicate soil health.
- Feel the texture: Sandy soils drain well, while clay soils may need more work.
Step 2: Gather Your Tools and Materials
Having the right tools at your disposal can make your grass-planting project smoother and more efficient. Here’s a list of items you’ll need:
- Shovel or spade
- Garden rake
- Aerator or tiller
- Grass seed suitable for your climate
- Seed starter fertilizer
- Water hose or sprinkler
- Mulch or straw (optional)
Step 3: Prepare the Soil
Preparation is key when it comes to planting grass seed on hard dirt. This step involves loosening the compacted soil to allow for better seed penetration and growth.
Aeration and Tilling
If your soil is hard and compacted, aerating it will be crucial. You can rent an aerator from a local garden store or use a hand-held aerator for smaller areas. Aeration creates holes in the soil, allowing air, water, and nutrients to reach the roots more effectively.
How to Aerate:
- Choose a day when the soil is slightly moist but not muddy.
- Walk over the area with the aerator, making sure to cover the entire space.
- Leave the soil plugs on the surface to decompose naturally.
After aeration, use a tiller or shovel to further break up the soil. Aim for a depth of about 2-3 inches to create a loose seedbed.
Step 4: Level the Soil
Once you have aerated and tilled the soil, it’s time to level it out. A flat surface will ensure even seed distribution and water retention.
How to Level the Soil:
- Use a rake to spread the soil evenly across the area.
- Fill in any low spots with additional soil to avoid pooling water.
- Lightly compact the soil with your feet or a roller to create a firm base.
Step 5: Fertilize the Soil
A healthy start for your grass seeds includes applying a seed starter fertilizer. This type of fertilizer provides essential nutrients that help the seeds germinate and grow strong.
Applying Fertilizer:
- Follow the manufacturer’s instructions for the appropriate amount.
- Evenly spread the fertilizer over the prepared soil.
- Lightly rake the fertilizer into the soil to ensure it mixes well.
Step 6: Seed the Area
Now comes the exciting part—planting your grass seed! Choosing the right grass seed mix for your climate zone is vital for success.
How to Seed:
- Use a seed spreader for even distribution, or scatter by hand for small areas.
- Follow the recommended seeding rate on the seed packaging.
- Cover seeds lightly with soil, about ¼ inch deep, to protect them from birds and wind.
Step 7: Watering the Seeds
Watering is crucial after seeding, as it activates the germination process. The goal is to keep the soil consistently moist but not waterlogged.
Watering Tips:
- Use a gentle spray setting on your hose or sprinkler to avoid washing away the seeds.
- Water the area thoroughly after seeding, then continue to water daily for the first two weeks.
- Once the grass begins to sprout, gradually reduce the frequency of watering to encourage deep root growth.
Step 8: Maintain Your New Lawn
Congratulations on planting your grass seed! The next few weeks are critical for your lawn’s health. Here are some maintenance tips to ensure your new grass thrives:
Maintenance Tips:
- Avoid walking on the newly seeded area until the grass is established.
- Monitor soil moisture levels, especially during hot weather.
- Once the grass reaches about 3 inches in height, mow it lightly to promote bushier growth.
Expert Tips for Success
Here are some lesser-known tips that can give your grass-seeding project a boost:
- Consider using a soil amendment like compost to improve soil structure and fertility.
- Timing matters—spring and early fall are ideal seasons for seeding.
- Choose a grass type that matches your sunlight conditions: full sun, partial shade, or shade.
Common Questions
1. How long does it take for grass seed to germinate?
Most grass seeds germinate within 7 to 21 days, depending on the variety and environmental conditions.
2. Can I plant grass seed over existing grass?
Yes, but it’s best to aerate or dethatch the existing grass to ensure proper seed-to-soil contact.
3. What should I do if it rains after seeding?
Light rain can help, but heavy rain may wash away seeds. Check for any exposed areas and reseed if necessary.
4. How often should I fertilize my new grass?
After the initial seed starter, apply a balanced fertilizer about 6-8 weeks after germination.
5. Is it too late to plant grass seed in the fall?
Fall is actually an excellent time to plant cool-season grasses, as long as you do so before the first frost.
Conclusion
Transforming hard dirt into a flourishing lawn is completely achievable with the right steps and a little patience. By following this guide, you’ll create a solid foundation for your grass seeds to thrive. Remember, the key is in the preparation and consistent care. So roll up those sleeves, get your hands dirty, and watch your yard come to life with vibrant greenery!